Unleashing Creativity with Beach Nail Designs
Dive into the world of beach nail designs. It’s a realm where creativity meets the sea, and your nails become the canvas for vibrant hues and playful patterns. This summer, let your nails echo the fun and frolic of the beach.
Embrace the Colors of Summer
Summer is all about bright, refreshing colors. Think of the clear blue sky, the turquoise sea, the golden sand, and the colorful beach umbrellas. These are the hues that should inspire your beach nail designs. From cool blues to sunny yellows, there’s a whole palette waiting for you to explore.
For instance, OPI’s range of nail polishes offers a myriad of summer shades that can transport you to a tropical paradise. Their Pillow Pie, a soft pink, is a favorite among many, perfect for a subtle beachy vibe.
Play with Patterns
Patterns add a playful twist to your nails. Stripes, dots, waves, or even palm trees – the options are endless. You can also experiment with gradient, ombre, and “smoosh” designs for a unique summer vacation mani.
For those who love a bit of glam, consider adding metallic details like gold foil or chrome cuffs.

Companies like Dazzle Dry offer a range of nail art accessories that can help you achieve this look.
Get Inspired by the Sea
Let the sea be your muse. Opt for blue and green marble nails that resemble the ocean. Or, go for swirl nails that mimic the waves. You can even add cute and festive nail art designs inspired by the sea, like starfish, seashells, or fish scales.
Stay on Trend
Staying on trend is always a good idea. This summer, green continues to be a popular color, while Viva Magenta, Pantone’s color of 2023, is predicted to make a big splash in the beauty world.
Also, don’t forget to check out the latest nail trends on Instagram. Accounts like @BlkGirlNailfies offer a wealth of nail inspiration.
Express Yourself
Ultimately, your nails should reflect your personality. Whether you prefer a minimalist design or a bold pattern, make sure it resonates with you. After all, the beauty of nail art lies in your creativity and self-expression.
So, what are you waiting for? Grab your nail tools and start creating your beach nail masterpiece today. Remember, the world is your oyster, and your nails are the pearls. Let them shine this summer!
DIY Beach Nail Artistry
Welcome to the world of DIY beach nail artistry! This summer, you can transform your nails into a vibrant canvas of beach-inspired designs. With a little creativity and the right techniques, you can create stunning manicures that echo the fun and frolic of the beach.
Getting Started
First things first, gather your nail art tools. You’ll need nail polishes in bright, refreshing colors, a nail art brush, and a dotting tool. Companies like OPI offer a range of summer shades that can transport you to a tropical paradise.
Beachy Patterns and Designs
Now, let’s dive into the fun part – creating beach-inspired designs. You can play with stripes, dots, waves, or even palm trees. For a unique touch, consider adding metallic details like gold foil or chrome cuffs. Companies like Dazzle Dry offer nail art accessories that can help you achieve this look.
Easy DIY Techniques
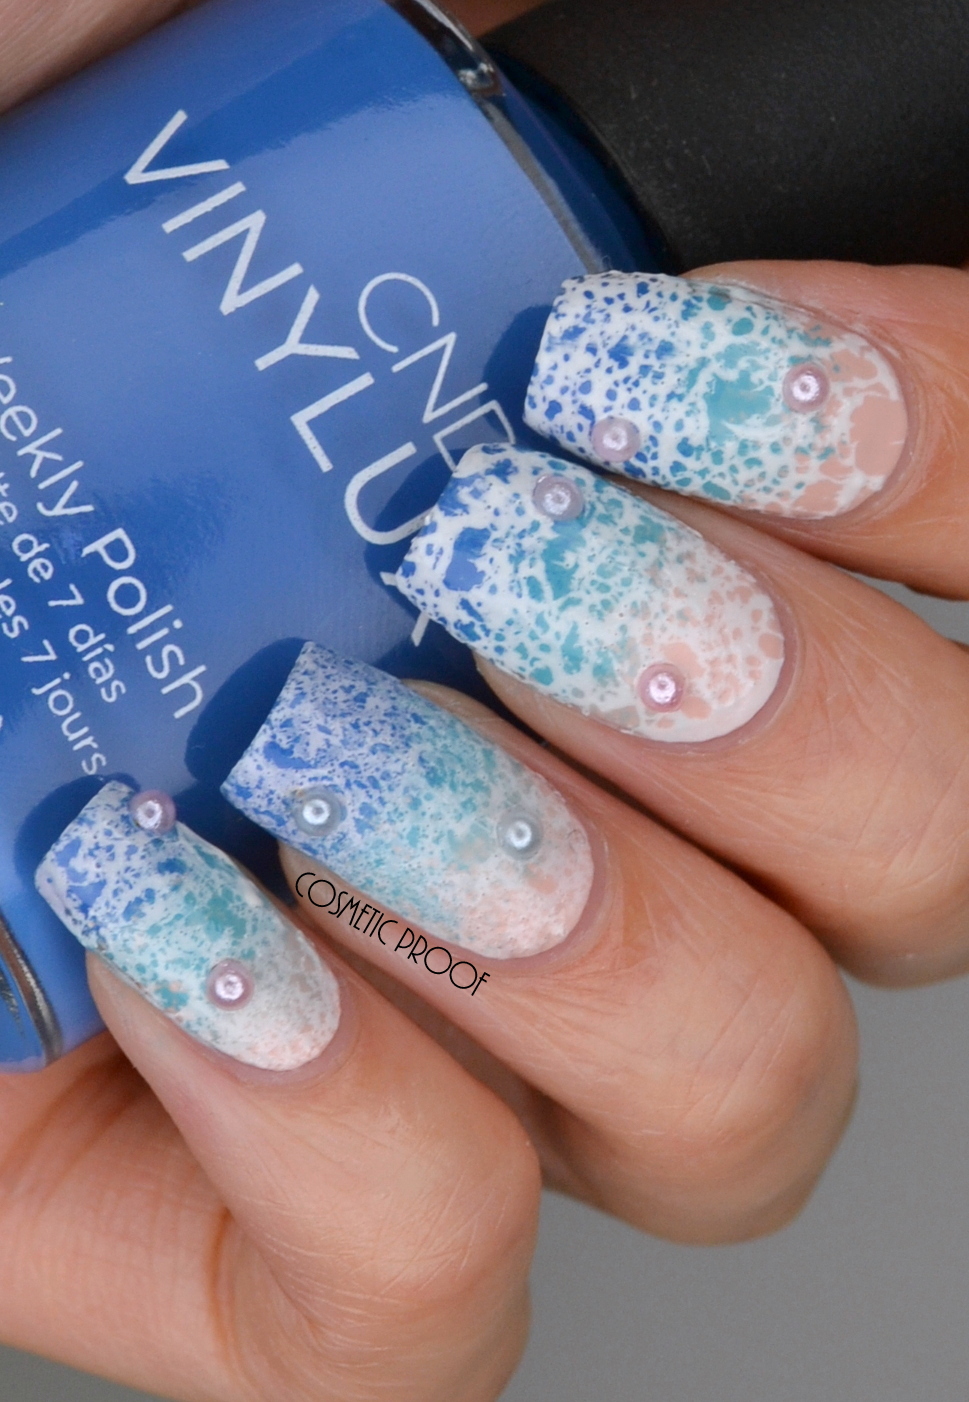
One popular technique is the gradient or ombre design. This involves blending two or more colors to create a smooth transition, much like the colors of a beach sunset. Another fun technique is the “smoosh” design, where you apply different colors on a stamper and then press it onto the nail.

Sea-Inspired Nail Art
Let the sea be your muse. Opt for blue and green marble nails that resemble the ocean. Or, go for swirl nails that mimic the waves. You can even add cute and festive nail art designs inspired by the sea, like starfish, seashells, or fish scales.
Beach Nail Tutorials
If you’re looking for step-by-step guides, there are plenty of beach nail tutorials available online. For instance, the “Beach Waves Nail Art Directions” tutorial teaches you how to paint your nails in a sandy color and then add wave details. Another fun tutorial is the “Ocean Nails design tutorial,” which is beginner-friendly and easy to follow.
Remember, practice makes perfect. Don’t get discouraged if your first few attempts don’t turn out as expected. Keep trying, and soon you’ll be creating beach nail masterpieces.
Express Your Creativity
Ultimately, your nails should reflect your personality. Whether you prefer a minimalist design or a bold pattern, make sure it resonates with you. After all, the beauty of nail art lies in your creativity and self-expression.
So, what are you waiting for? Grab your nail tools and start creating your beach nail masterpiece today. Remember, the world is your oyster, and your nails are the pearls. Let them shine this summer!
Prepping Your Nails for a Flawless Beach Manicure
Before diving into the vibrant world of beach nail art, it’s crucial to prepare your nails properly. This step ensures your manicure lasts longer, even amidst summer adventures.
Sanitize Your Hands
Start by washing or sanitizing your hands. This step removes germs and bacteria, paving the way for a clean and healthy manicure.
Cuticle Care
Next, focus on your cuticles. Use a cuticle pusher to gently push them back. Trim away any dead or loose skin, but be careful not to remove too much. Healthy cuticles are essential for healthy nails.
Shape Your Nails
Choose your desired nail shape and file gently in one direction. This method prevents splitting and damage. Whether you prefer round, square, or almond-shaped nails, make sure the shape suits you.
Smooth the Surface
Use a buffer to create a smooth surface for your nail polish. This step removes any ridges or unevenness, ensuring a flawless polish application.
Cleanse and Prime
Cleanse your nails with a wipe to remove debris, dirt, and excess oils. Then, apply an acid-free primer to enhance adhesion and prevent peeling. Companies like OPI. This step enhances adhesion and prevents peeling.
Applying Your Gel Polish
When it’s time to apply your polish, avoid shaking the bottle. This can create air bubbles, which can lead to chipping. Instead, roll the bottle between your hands to mix the color evenly.
Apply a base coat first, then your chosen nail polish, and finally a top coat. These layers provide extra strength and durability. Remember to wait between coats.
This allows each layer to set properly, ensuring a longer-lasting manicure.
Protect Your Manicure
Once your manicure is complete, there are steps you can take to protect it. Wearing rubber gloves when washing dishes or cleaning can prevent nail damage. Avoid tearing open packages or scraping things off surfaces, as this can cause your manicure to become ragged.
Hot water can cause your polish to lift and peel. So, it’s best to wear rubber gloves when doing dishes. If you’re spending a lot of time in the ocean, be aware that this can cause your manicure to chip and your nails to become brittle.
Extend the Life of Your Manicure
There are also ways to extend the life of your manicure. For instance, applying cuticle oil daily can keep your nails hydrated and strengthen them, preventing chipping, breaking, or brittleness.
If your manicure starts to look dull or worn at the edges, you can refresh it. Simply file your nails and apply a new layer of topcoat. This can give your manicure a fresh, just-done look.
When It’s Time to Remove Your Gel Manicure
When it’s time to remove your gel manicure, it’s best to have a professional do it. This ensures your nails stay healthy. If you prefer to do it yourself, use a peel-off base coat. This makes it easier to remove tough textures like glitter.
In conclusion, a gel manicure is a great option for a beach vacation. It can last up to two weeks without being affected by water, sun, or sand. With proper care and maintenance, you can enjoy a stunning, long-lasting beach manicure. So, get ready to flaunt your nails and make a splash this summer!